
The Do’s and Don’ts of Quick Pits
Balancing the need to assess snow stability on the skintrack while also making sure your partners don’t freeze can be a difficult task at times. To be safe in the mountains, you need to gather a lot of information on a variety of aspects and elevations, but spending an hour in a snow hole is less than appealing, especially in inclement weather. And it’s this middle ground of data collection combined with warm toes and fingers that the quick pit was invented for. Here are a few tips for how and when to use these “quick” pits in the field.
THE DIFFERENCE BETWEEN STUDY AND QUICK PITS
Study pits involve identifying the stratigraphy of the entire snowpack: the hardness of each layer, as well as grain type and grain size of each of these layers. All of this information is collected in addition to executing a few stability tests and possibly taking temperatures every 10 centimeters throughout the pit. Needless to say, these study profiles can often take 45 minutes to an-hour-and-half. That’s a long time to be looking at snow in one spot.
Quick pits, on the other hand, involve five to 15 minutes in a pit and serve as a focused assessment of snowpack in that particular location. The beauty of the quick pit is that you can do this more than once a day and still have happy and warm backcountry ski partners. By doing more than one quick pit in a day, you can gain a better understanding of snowpack on a variety of aspects, at different elevations.
QUICK PITS: THE BASICS
There are a few important things to remember about quick pits before relying on them in the field. First, you should already know the general layering of the snowpack and/or know the forecasted avalanche problems. Quick pits are great when snow conditions have changed with more snow, moderate to high winds, or big temperature swings. If and when you have a deep understanding of the current snowpack, the question in your test pit pivots to “Am I missing anything?”
If you’re in a new area or haven’t been out for weeks or even months, it’s important to spend more time in a pit or two to gather a baseline understanding of stability, current avalanche problems, and weather history of the area, before you rely more on the quick pits. But for when you feel like you have that background information, here’s how to approach digging and then gathering information from a quick pit.
STEP 1:
Ask, “What is the season’s history?” This question makes a big difference for your assessment. Seasons with persistent weak layers or deep persistent weak layers require different assessment and management tools than seasons where the common avalanche problems are storm slabs and wind slabs. Know what your season history is and what the forecasted avalanche problems for the day are. This will help develop a hypothesis to test in your quick pit.
STEP 2:
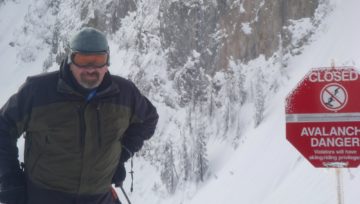
Choose an appropriate spot to assess stability. You don’t want to get avalanched when assessing the snowpack. Recent data shows that you get relevant extended column test results in low angle terrain. The impact of this finding is that you don’t need to expose yourself to avalanche terrain to assess stability.
STEP 3:
Probe for a representative snowpack. Dig in an average or below-average depth spot. The goal of the pit is to assess the worst-case scenario and ask, ”What happens if I hit the weak spot on the slope?” You don’t get that information if you dig in the deep wind drift.
STEP 4:
Practice strategic shoveling to excavate the pit. Take advantage of this time to hone your shoveling techniques while getting ready to assess the snowpack. Personally, I excavate a pit wall that’s 100 to 110cm wide, but you can go wider or narrower, depending on the tests you are doing and how hard the shoveling is.
STEP 5:
Once the pit is dug, note the aspect, elevation, and slope angle of where you are. If one of your goals of the day is to paint a picture of the snowpack of the area, it can be worthwhile to target a variety of aspects and elevations. Know where you are when you’re digging.
STEP 6:
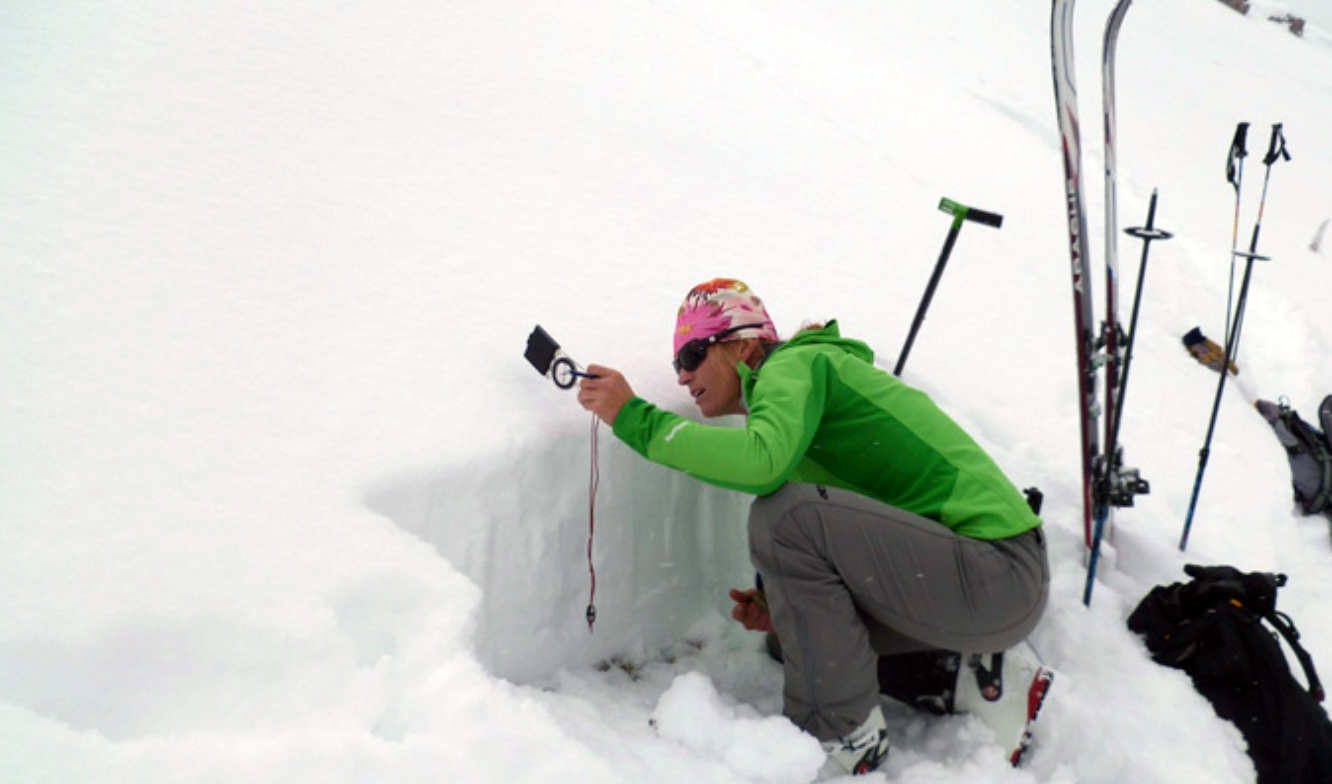
Get in your pit and do a hardness profile. You’re looking to see if there is a recipe for an avalanche; a slab, weak layer, a bed surface. Is there a soft layer below a hard layer? Check for thin grey lines in the snowpack, while you’re at it—these lines are often facets, surface hoar, or crusts and they are guilty of instability until proven innocent.
ASSESSMENT
At this point, you should have a have a more in depth hypothesis of what the snowpack is like in the area you intend to ski. The questions you might want to answer include: How reactive is this snowpack? Are the forecasted avalanche problems present in this location? Am I seeing propagation in this pit?
Once I have a hypothesis to test, I go into stability tests. I start with a quick ski shear. This is similar to a shovel shear, but narrower, and tested using the tail of my ski rather than my shovel. This helps me identify layering, and gain access to the back of the column. From there, I can easily cut an Extended Column test. What I’m looking for when I’m doing an ECT is to find out if the weak layer fails and if it propagates across the entire column on the same tap or one additional tap. If that’s the case, I have propagation, which is a red flag. I will adjust my terrain selection if I see propagation.
If I get inconclusive or confusing results, I’ll do one of two things. I’ll with cut another extended column test, moving upslope in my pit, or I will cut a compression test. The more repeatable a stability test is, the more I’m paying attention.
BOTTOM LINE:
I’m using these quick pits as a way to test INSTABILITY rather than stability. If I get results pointing towards instability, they help drive my decision-making. If I get results pointing towards stability, that drives my decision-making less. Instability carries more weight than no reaction—or more stable results.
Quick pits are a great tool for assessing snowpack in the field and the more pits you dig during a day, the better understanding you can gain of the current snowpack. On the flip side, snowpits are only one tool in your quiver. If you are seeing bulls-eye data—cracking, collapsing, recent avalanche activity —you don’t even need to stick your shovel in the snow. You have the information that you need and it points to increased hazard.
No matter how much education and experience you have, don’t try to out-science the avalanche problem. Start with the foundational question: do I have a recipe for an avalanche? Then build from there. The more efficient you are at digging, the more information you can gather while still skiing a lot of powder.
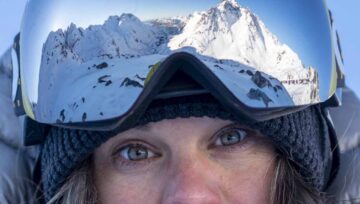
Photo and words by Sarah Carpenter
Sarah Carpenter is the co-owner of the American Avalanche Institute and an AMGA-certified ski guide. Her first job out of college was ski patrolling at Bridger Bowl, Mont., and she’s been working in the snow and avalanche industry ever since as a patroller, ski guide and avalanche educator.


Comments